January 21, 2017

Joining carpet together
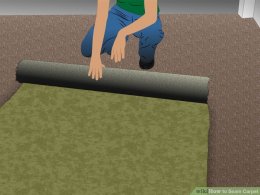 Position the carpeting well. You should prepare the seam such that it falls out in an area that gets hardly any base traffic. For instance, putting it a location that'll be underneath furnishings is preferable to placing it in the center of the room.
- Hiding the seam additionally helps it be less apparent. Also a good seam may be seen from time to time, so concealing it will make your room look more professional and nice.
- Each bit of carpeting you seam is about 4 legs (1.2 m) wide.
- Make sure that you fit the nap from the bits of carpeting being seamed together. Likewise, if the carpet has a pattern onto it, which should also be matched.
- In other words, the range must be 1 to 1-1/2 inches (2.5 to 3.75 cm) from the side of the carpet, dependent on simply how much overlap you've got.
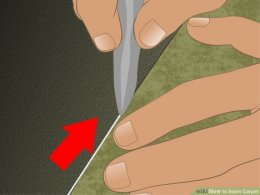
- This edge will be the new side of you top-piece, so slashed as right a range as you possibly can.
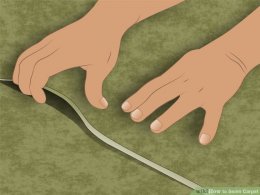 Using a straightedge, like a yardstick or meter stick, can help.
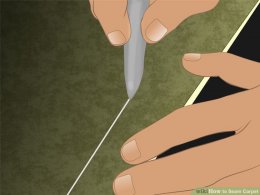
 - Don't cut to the bottom piece while trimming the most effective.
- Preferably, you need to use a special carpet blade in order to make this slice. In the lack of a carpet knife, a regular utility blade my work, but it will not be as easy or practical to utilize.
- Angle the cutter somewhat, by about 5 levels, to cut-away much more backing than fiber.
- The directing slices must be 2-3 feet (61 to 91 cm) apart.
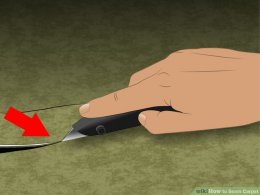
- Make use of a straightedge and carpet blade to trim the bottom piece. You might make use of scissors to cut from the edge of the carpeting toward center of each and every leading cut, however, that will help you find the guiding slices easier when trimming the overall advantage.
 Carefully lift up one side and make use of chalk to mark a line on the ground over the various other edge.
- This isn't entirely essential, but if your carpeting gets bumped as you work, you should use this line to aid complement the sides once again.
Part 2
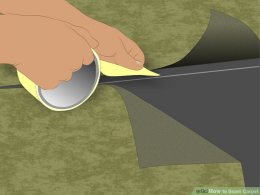
Applying Seam Adhesive- Apply double-sided tape. Place a wide strip of double-sided tape on the ground, centering it between both edges of both pieces.
- This tape ought to be focused across chalk range you drew on to the floor earlier in the day.
- Hold both edges collapsed right back in this action. Never lay all of them back down until instructed to do therefore.
- With both items of carpet off the beaten track therefore the tape perfectly focused between them, very carefully peel off the defensive report in addition to the tape.
- Press one-piece in position. Lay one side of the carpeting down, pressing it securely regarding double-sided tape.
- Never lower others carpet piece however.
- Apply the glue.
 distribute a thin, consistent type of carpet seam glue over the edge of your flattened piece. Be sure that the adhesive can be close to this side as you can.
- Utilize sufficient adhesive to form a much line all the way along the side. You will need more than a few small beads, however should not apply the adhesive in globs, both.
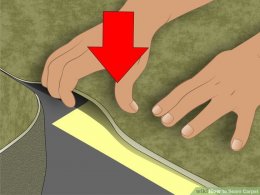
- Lay-down the 2nd piece. Carefully let down others piece of carpeting, flattening its advantage against the edge of the initial piece and to the seam adhesive.
- Wiggle and butt the edges collectively as required to participate all of them collectively uniformly. If two edges buckle, hit down on all of them until you can smooth it.
- Keep carefully the nap stays out from the glue. Just the back associated with the carpet is cemented set up.
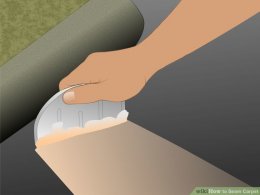
- Tidy-up the seam. Cleanse off any adhesive with a wet cloth although the adhesive remains damp. It's also wise to pass within the seam with a rolling pin or seam roller to repair it set up much more securely.
- If the adhesive dries, utilize a carpeting brush and brush the fibers across the seam. This enable mask the seam.
- This finishes the process if you work with seam adhesive.
Share this article
Related Posts

Latest Posts


